I look forward to putting a blog post together of our favorite bike commuting photos of the month. This month with all the heavy rain, flooding, downed trees which threatened my little dome workshop and other little challenges life had for us, we didn't just "get through it", we had fun with it. Most of these photos are from the beautifully talented Lisa Piper.
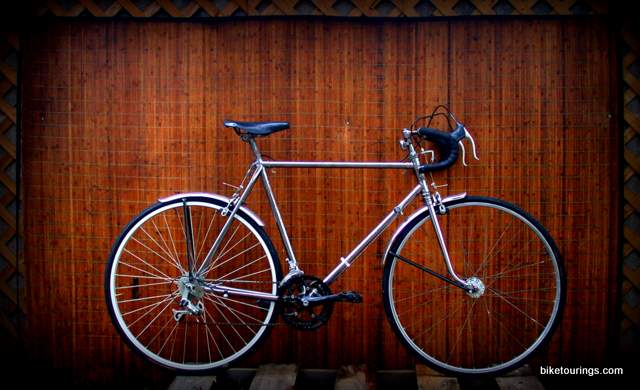
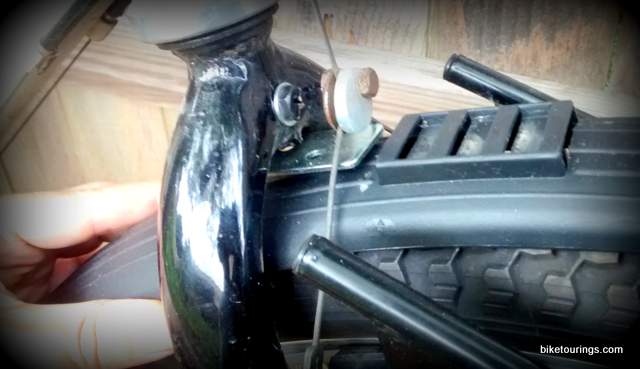
'93 Bridgestone MB 1 with Minoura FRP 3000 front rack. We began the month with finally finding a suitable front touring rack for the Bridgestone.
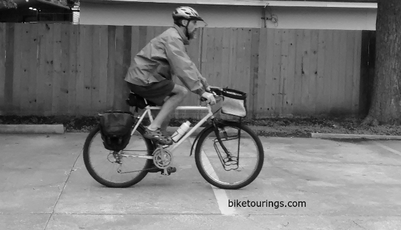
Sunday afternoon bike ride with Lisa. Kickin' it with some vintage steel lugged mountain bikes for commuting.
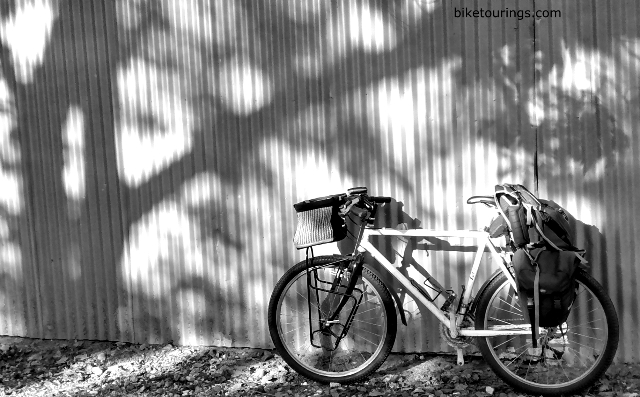
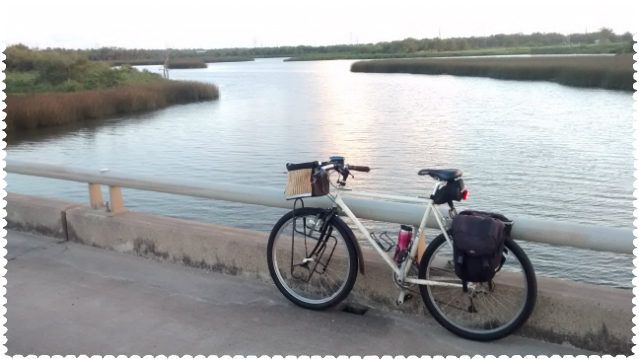
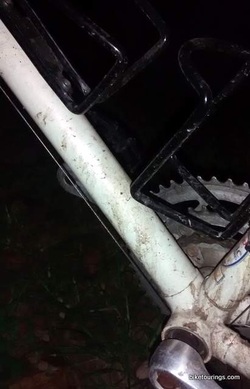
My Bridgestone MB 1 outside of workshed nice autumn photo during our weekly bike commute.
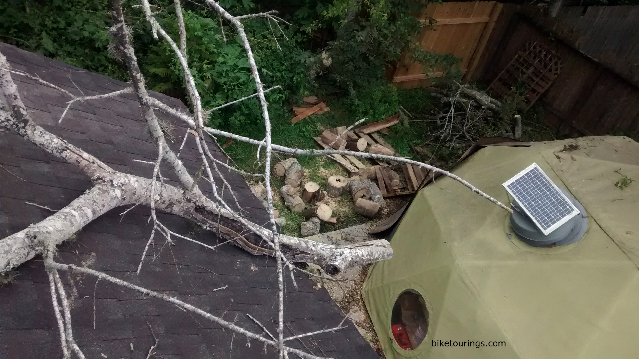
Remaining portion of tree on roof after cutting down and cutting rounds for firewood on ground. Happy we managed to save our dome bike workshop
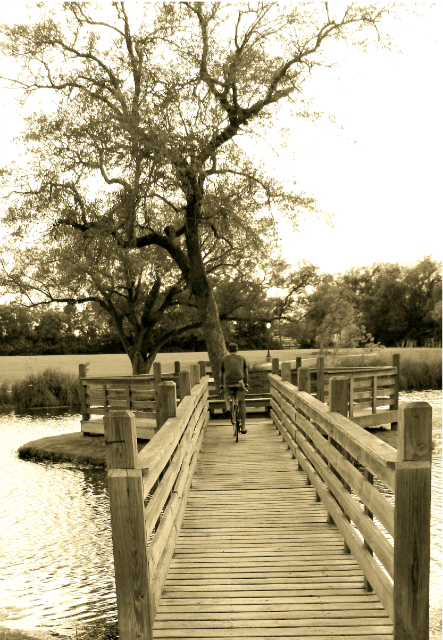
Riding Puch Bergmeister on deck at local park.
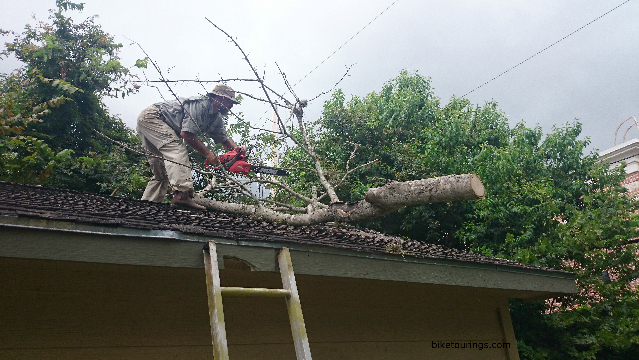
After dropping the dead tree in only direction in could go without hitting our dome or power lines, on roof of our little store just before the storm hit.
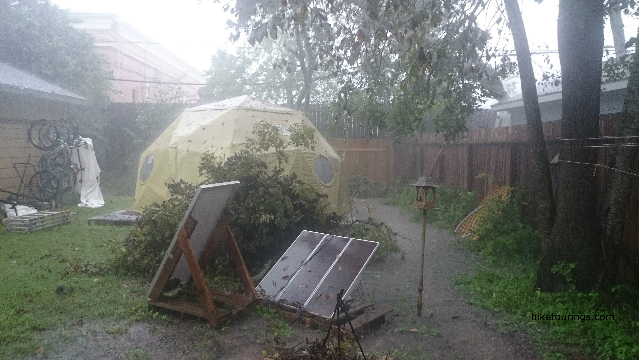
Within two hours of removing the dead tree heavy rain caused local flooding.

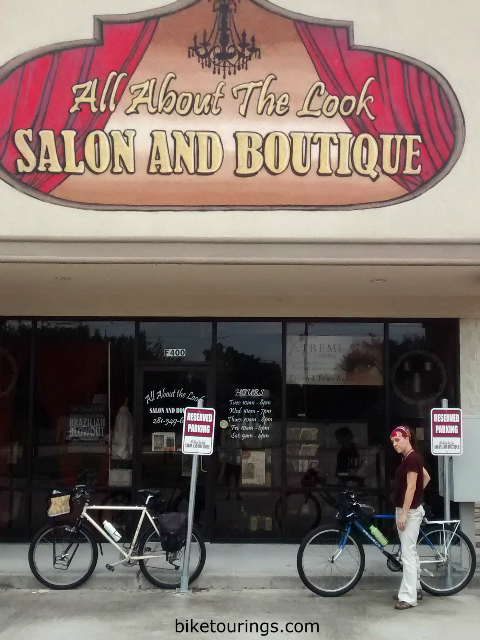
Finding alternate routes for our bike commute during road construction.
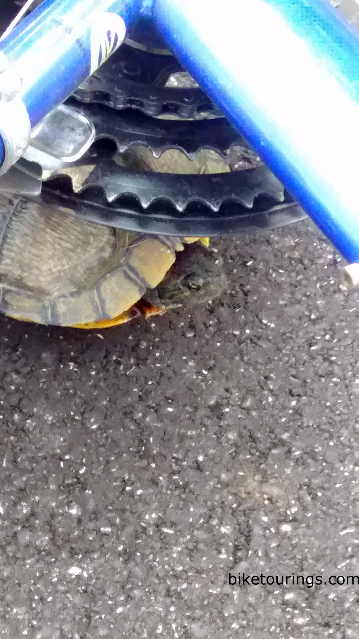
With all the rain turtles have been frequently spotted on roadways. Moved two to safety in three days while bike commuting.
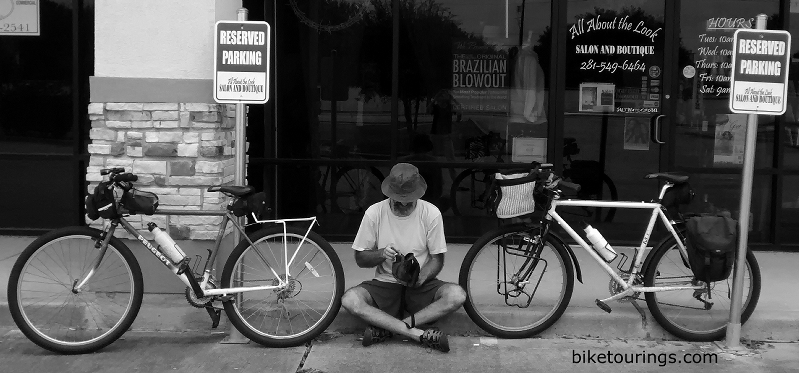
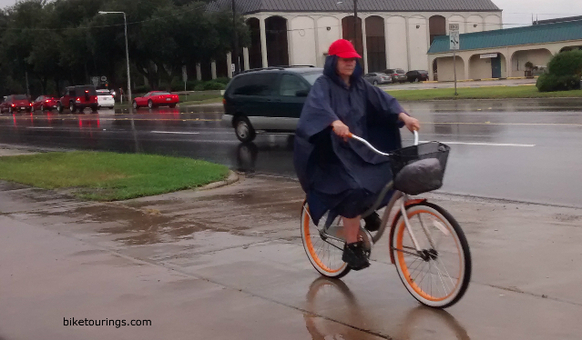
Lisa's fun bike fashion pose. We had a very fun if a bit eventful September.
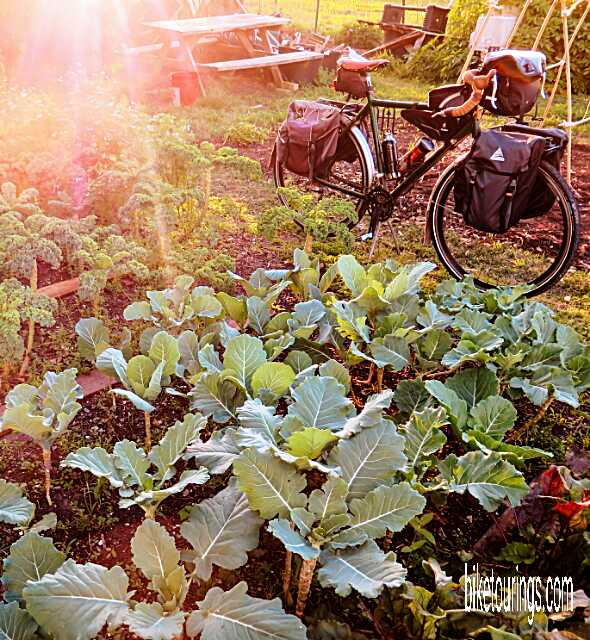
As we roll into October it will soon be time for us to get our large order of pumpkins for the Store. Looking forward to cooler temperatures and less mosquitos as we say goodbye to summer. In our part of the country that means better weather for bike touring. Looking forward to getting lots of riding in for a nice long spring bike tour.


 RSS Feed